
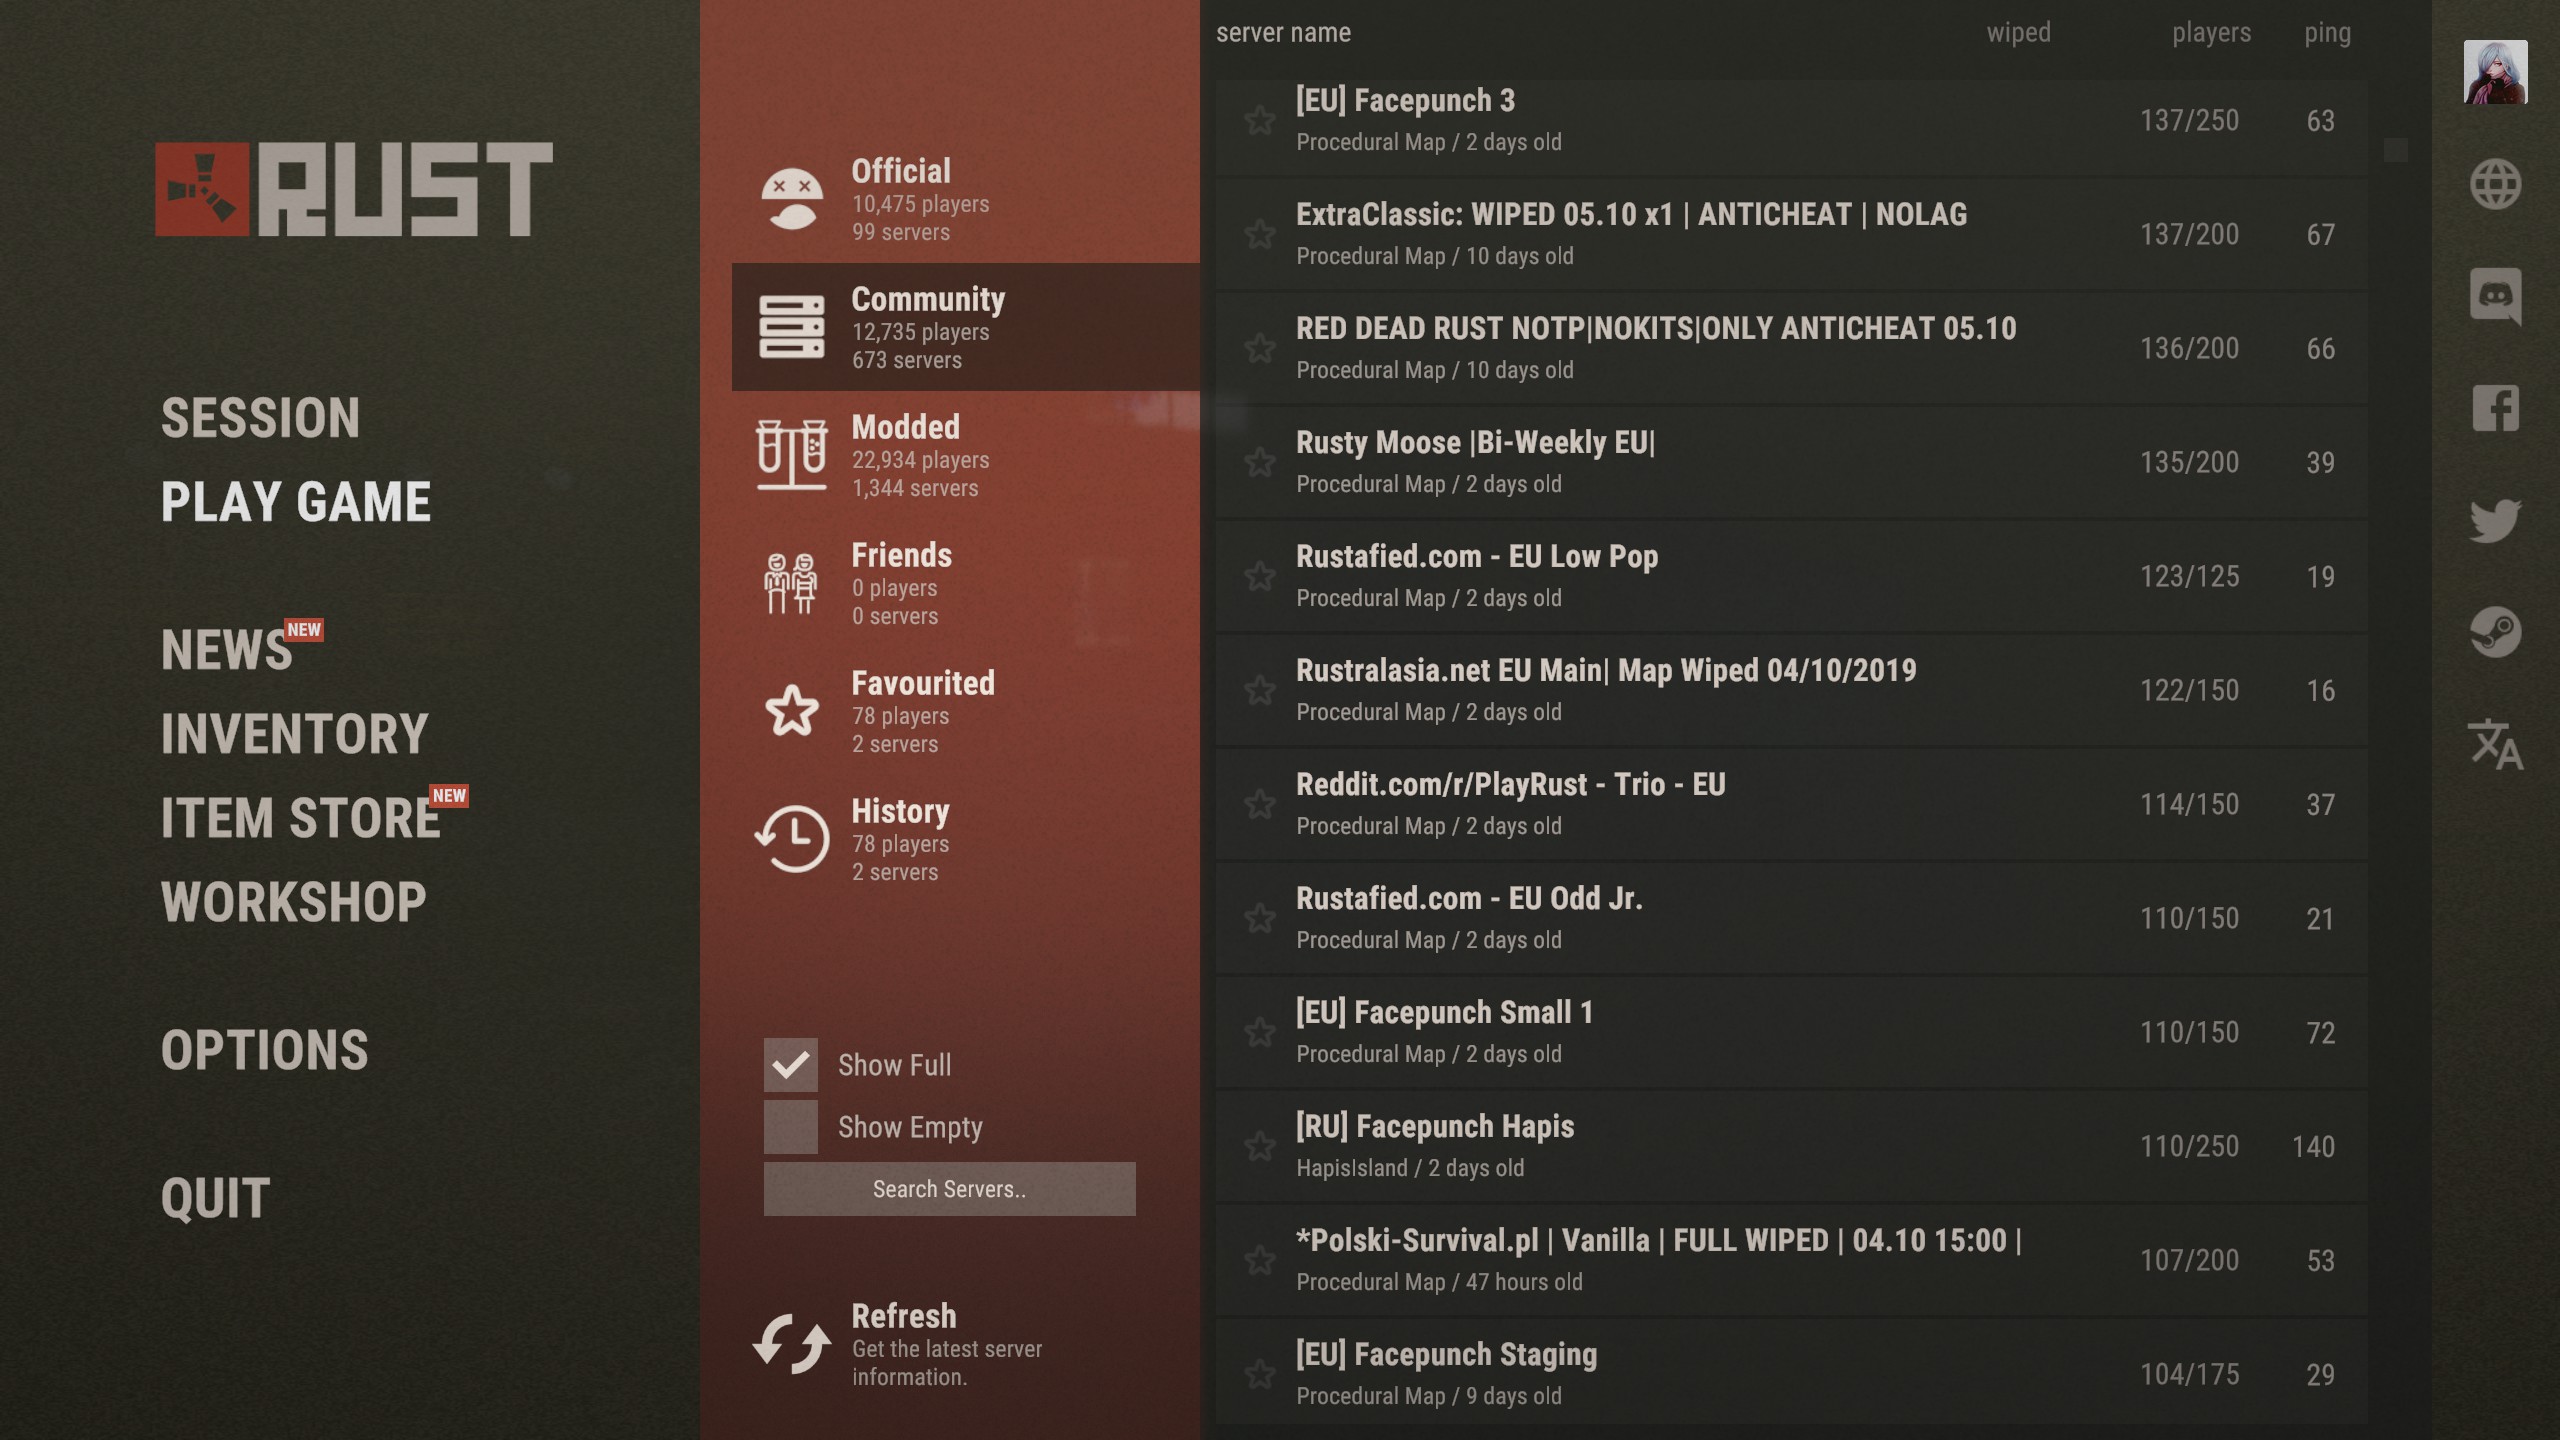
So you’ve finally decided to give in and purchase Rust, eh? Once downloaded and installed there are a couple of choices you need to make before you get going in order to have the optimal experience on Rust. The menu screen shown below will help you out with this.
Before you dive in and start mindlessly murdering people with rocks, you should first decide on which type of server and map you wish to play on. There are three types of server, listed below.
Official Servers
Official servers are your standard Rust experience. There are no modifications to anything within an official Rust server, and the resource gather rates and crafting times are what you would expect in a normal vanilla Rust experience. The maps available for official servers are Hapis Island, Savas Island and procedurally-generated. The procedurally-generated map is generally the most popular choice, as everything is random and the various monuments available are randomized. The terrain and caves on procedural maps are also randomized.
Modded Servers
Modded servers are random. These Rust servers range from providing an almost vanilla experience with expected rates to heavily modified with custom interfaces, high resource gain and custom events. Modded Rust servers can also be beneficial to new players as some servers provide access to team-based commands and teleportation commands. This can make the game less stressful to new players. The maps available for modded servers are Hapis Island, Savas Island and procedurally-generated. The procedurally-generated map is generally the most popular choice, as everything is random and the various monuments available are randomized. The terrain and caves on procedural maps are also randomized.
Community Servers
Community servers are essentially a mix of the two categories above. They can be either vanilla or modded, but are generally servers created by large communities and are designed to be as such. This means that the communities running these servers may also host large events on their servers for players to participate in.
Diving into the Game
Once you have selected your server, it is time to dive in and begin playing the game. Picture this… You wake up alone on a beach, naked and confused with only a rock, torch and map (accessible with G by default). The world you have awoken in is a harsh, unforgiving world filled with hostile players and animals, meaning using your tools correctly may just be the difference between surviving the first night, and picking a different game after being bludgeoned to death by bald, naked men with rocks.
The Tools of Survival
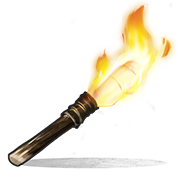
You may think you can be cheesy and avoid using this, but then again… You’re probably going to be mauled by a bear or wolf during the first night, and that’s not really a pleasant experience. Be aware, that in addition to saving your life, you are essentially a beacon with a large flag above you saying “hey, I’m here… KILL ME” so use it wisely and sparingly.
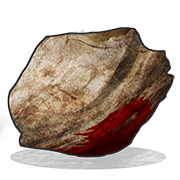 Ah yes… The rock. No, it’s not a WWE superstar, but it is a trusted friend and may just save your life. We’ll call it Wilson. The rock is your first real tool, and will assist you in collecting wood and stone in order to make some real tools because, come on, it’s a rock… You can hit things, you can throw it. Will it save your life? Maybe. Seriously, just don’t throw it at a bear…
The Interface
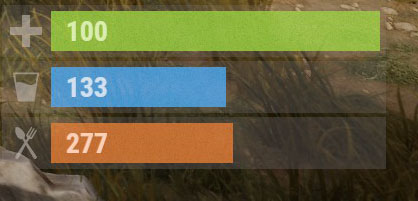
Before you go ahead and throw your rock at a bear exactly like I warned you not to… take a look at the small box on the bottom right of your interface. That’s your health, hunger and thirst. During the first couple of hours, get used to seeing them almost empty and feeling like Oliver Twist because you’re going to be constantly hungry and thirsty in your don’t find something to sustain you. You should probably keep an eye on these, as dropping below 40 on your thirst or food bar will cause you to slowly wither and die. Do not lose hope though! You can recover your health by drinking water until your thirst level is above 40.
Gathering the Essentials
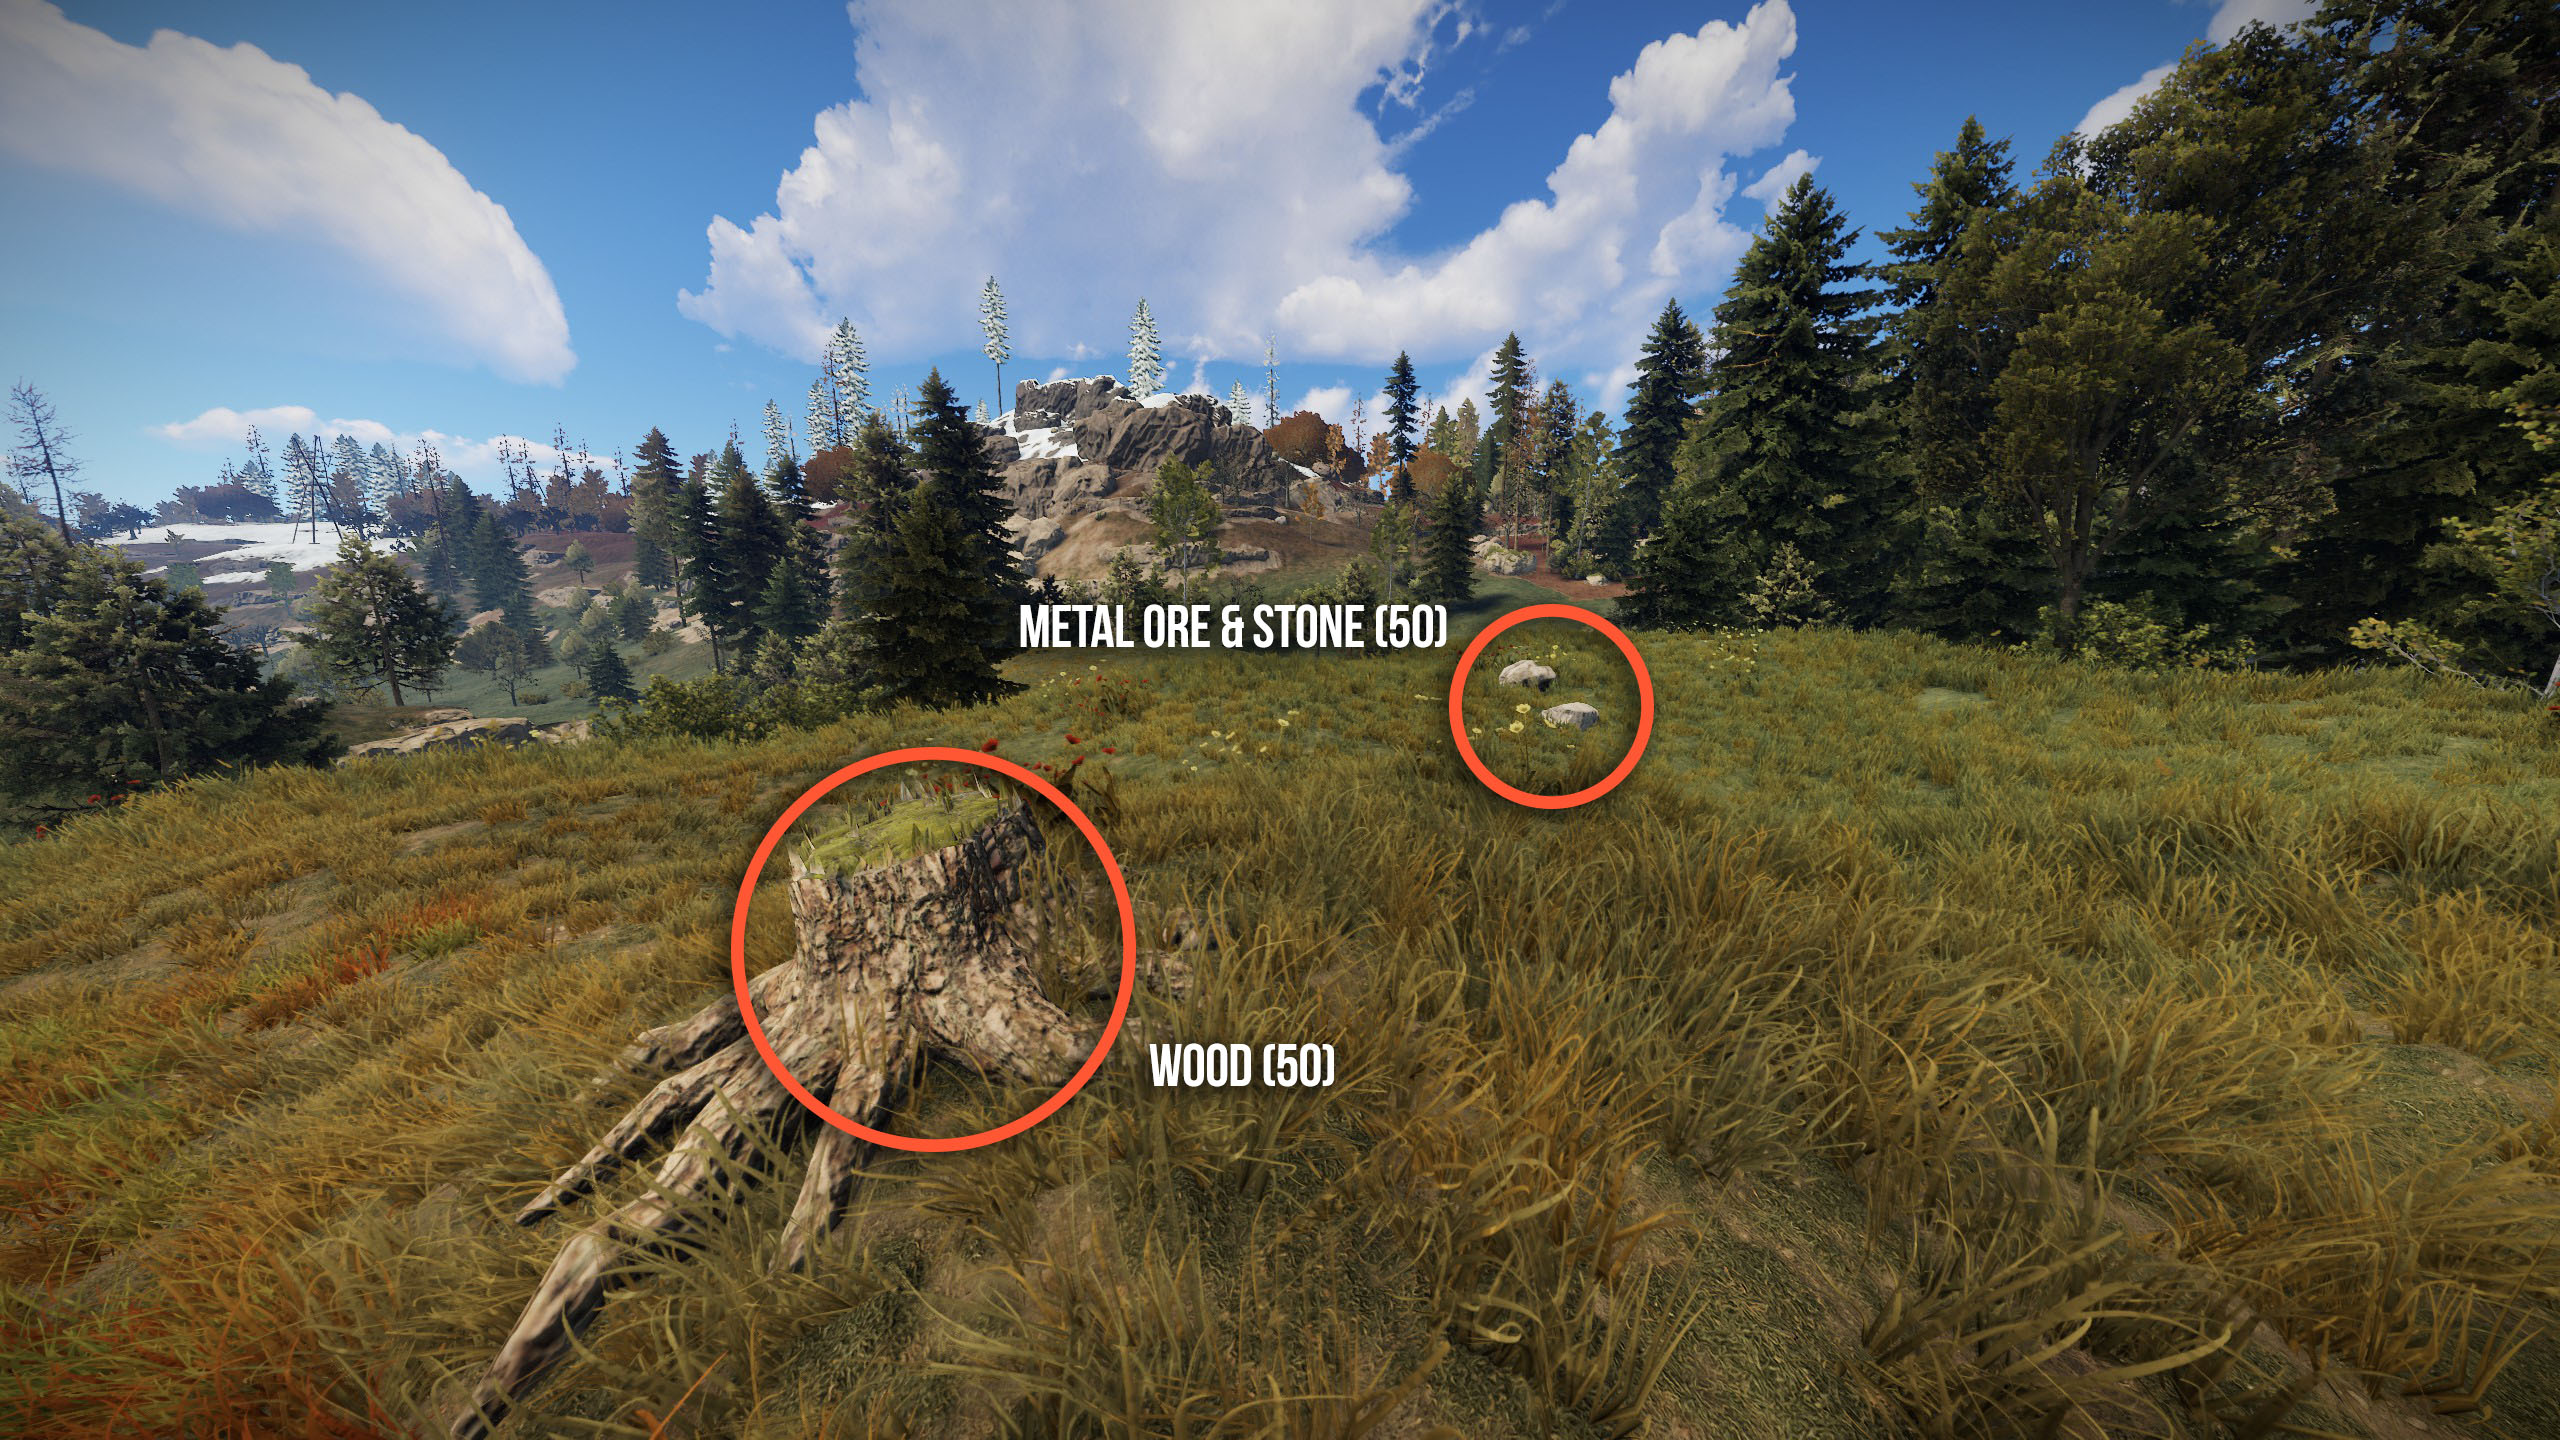
Once you’ve made it through the night and worked out how to somewhat stumble through the world, you’ll need to find resources to get started and help you craft your first tools and hovel. The quickest method of gathering resources is to pick them up from the ground in the form of nodes. There are three different kinds of node. Wood, sulfur ore and metal ore. Two of the three are highlighted in the image below! Nice and easy to find, and saves poor Wilson (the rock) from being repeatedly beaten against trees and rocks, the poor soul.
You can also bludgeon poor Wilson (your trusty rock) against trees and large nodes as shown below.
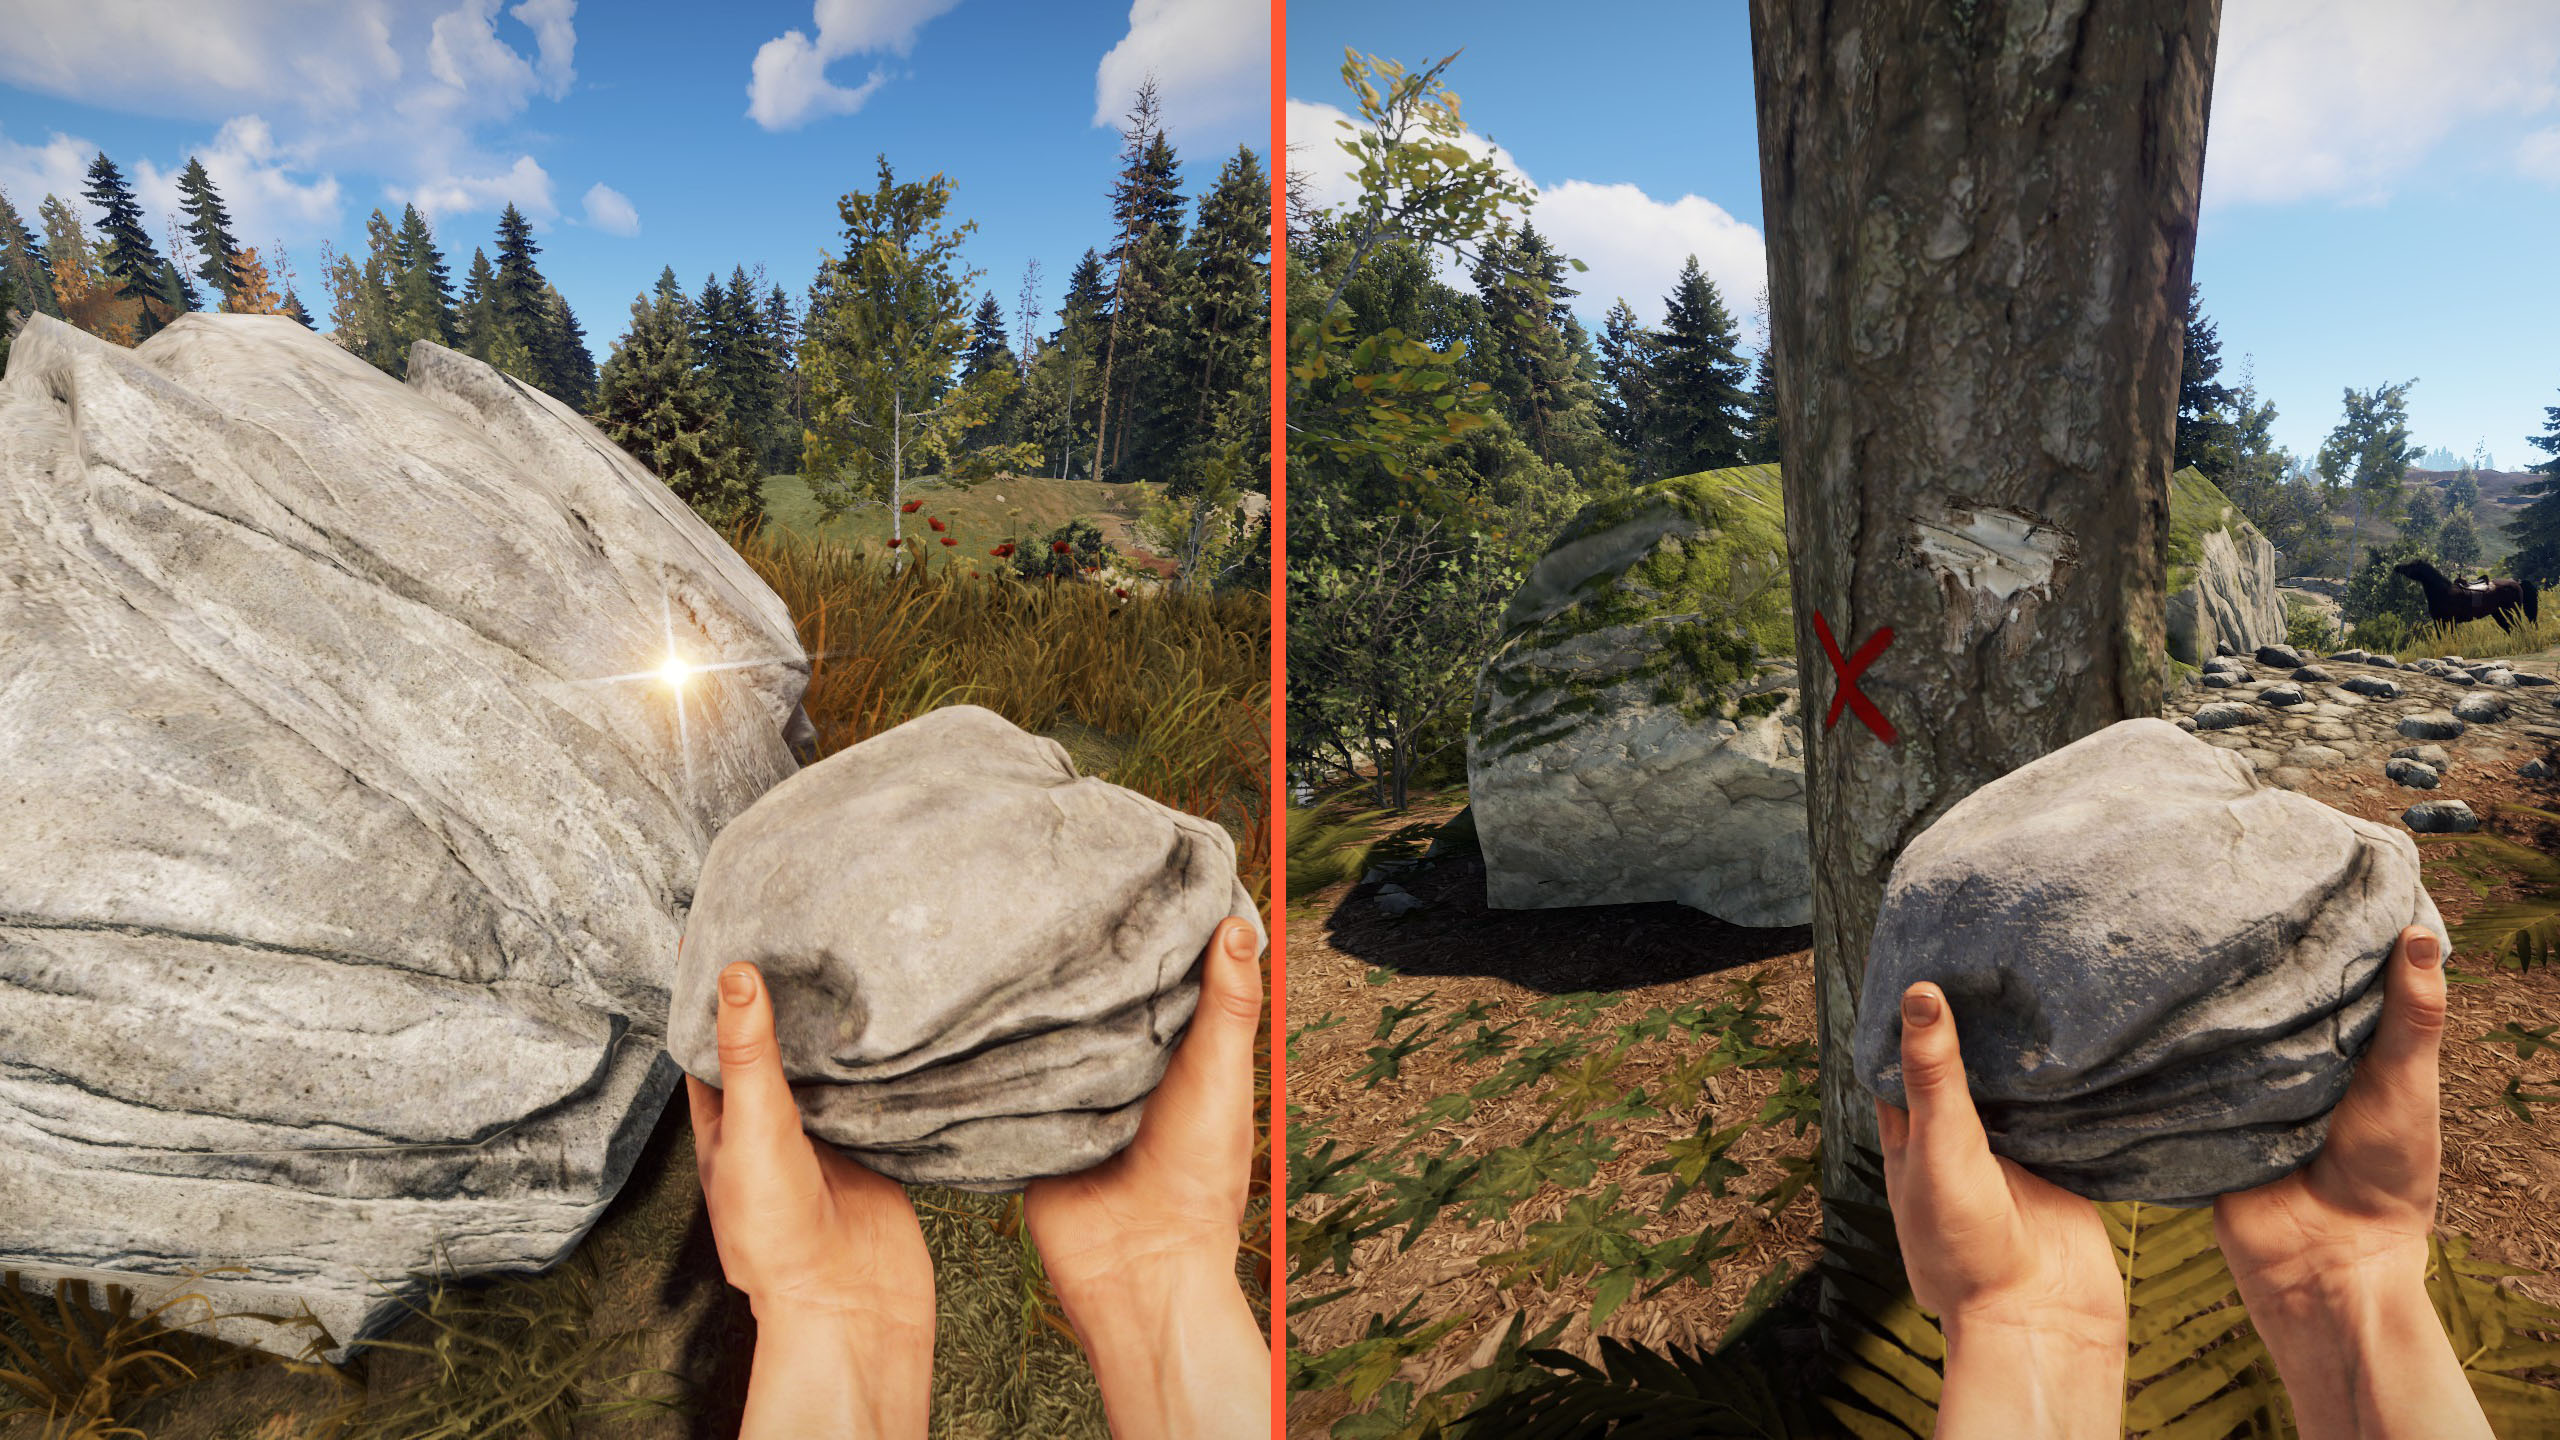 You can collect wood by hitting a tree with your chosen tool. If you were to use poor Wilson (your rock) it will take roughly 30 hits in order to destroy the tree. Doing so will give you roughly 500 wood. You can earn slightly more wood by hitting the small red X’s any time they appear whilst hitting the tree. Below is roughly what you would expect each tool to give you from destroying one tree. Stone is roughly the same, although you can earn slightly more stone by hitting the shiny mark any time they appear whilst hitting the stone.
Below is roughly what you would expect each tool to give you from destroying one tree. Full statistics on gathering with certain tools, the amount gathered, time taken and tool durability can be seen below. Full statistics can be found by clicking the tools below.
 |
Salvaged Axe |  |
17–25 sec | 2 % |
 |
Chainsaw | |
4–6 sec | 2 % |
 |
Hatchet | |
15–26 sec | 3 % |
 |
Stone Hatchet | |
20–35 sec | 14 % |
 |
Salvaged Hammer | |
22–37 sec | 4 % |
 |
Bone Club | |
24–51 sec | 31 % |
 |
Rock | |
36 sec – 1 min 4 sec | 17 % |
You will also require cloth, as you shouldn’t be running around naked. I mean… unless that’s your thing. We don’t judge! Anyway… You can gather cloth from killing animals, or easily by running around the world clicking these little uh… “hemp” plants. They generally give you 10 cloth per click, and some seeds.
Getting Tool’d Up
Now you hopefully stopped tormenting your poor rock and have an adequate supply of stone, wood, cloth and a small amount of metal; it is time to craft some better tools (and stop abusing your poor rock). Crafting can be done by opening your inventory (default key is tab) and selecting the tool you wish to craft. From personal experience, I’d recommend the below!
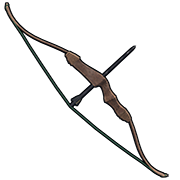
Hunting Bow
The Hunting Bow is possibly the best weapon you can craft early in the game. It can kill in roughly 3-4 shots, is cheap and means you won’t end up getting beaten to death by a rock. The cost of crafting this item is 200 wood and 50 cloth. The cost of crafting arrows is 25 wood, 10 stone for two arrows.
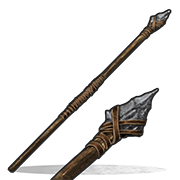
Stone Spear
Ignore the wooden spear… It’s basically a toothpick. The Stone Spear is lightly more expensive, costing you one wooden spear (3oo wood), 100 stone and 5 cloth. The Stone Spear will allow you to attack and kill animals and players without them being able to get close to you. If you’re smart, and near water, you can slow your assailant by running into the water and jabbing them with the pointy end until they’re dead.
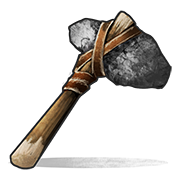
Stone Pickaxe
Your poor rock is saved! Hurrah! Crafting the stone pickaxe will cost you 200 wood and 100 stone. If you refer to the tool statistics shown earlier, you will notice that this is quicker and more effective than your poor rock, and your first steps in the direction of solid progress.
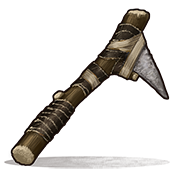
Stone Hatchet
Your poor rock is saved! Hurrah! Crafting the stone hatchet will cost you 200 wood and 100 stone. If you refer to the tool statistics shown earlier, you will notice that this is quicker and more effective than your poor rock, and your first steps in the direction of solid progress. You can also continue to brutally beat people with this after you have killed them. Doing so will provide you with animal fat, cloth, bone fragments and leather. We’ll talk about some of those later, though.
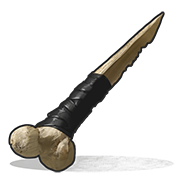
Bone Knife
It’s time to embrace your inner Michael Myers and start brutally murdering animals and people for that sweet flesh. I mean… cloth and leather. You’ll need some bone fragments for this, and it’ll cost you 30 bone fragments in order to craft, but you’ll passively collect these when hitting corpses with rocks (because that’s a perfectly sane thing to do in Rust).
Using your new-found tools, you will gain the following from running around, going all Jason Voorhees on everyone.
- Bone Fragments – Used to craft bone weaponry and armor
- Leather – Used for cl0thing
- Animal Fat – Used to craft low grade fuel
- Cloth – Used for clothing, bandages, sleeping bags and bows
Time to Build!
You should now be at a point where you can somewhat safely start to build a humble hovel. For this, you’ll need a hell of a lot of materials, although around 5000~ wood and 30 cloth is enough to build a small 1 by 1 house with a door, lock, tool cupboard and sleeping bag. We’ll get to that soon, anyway!
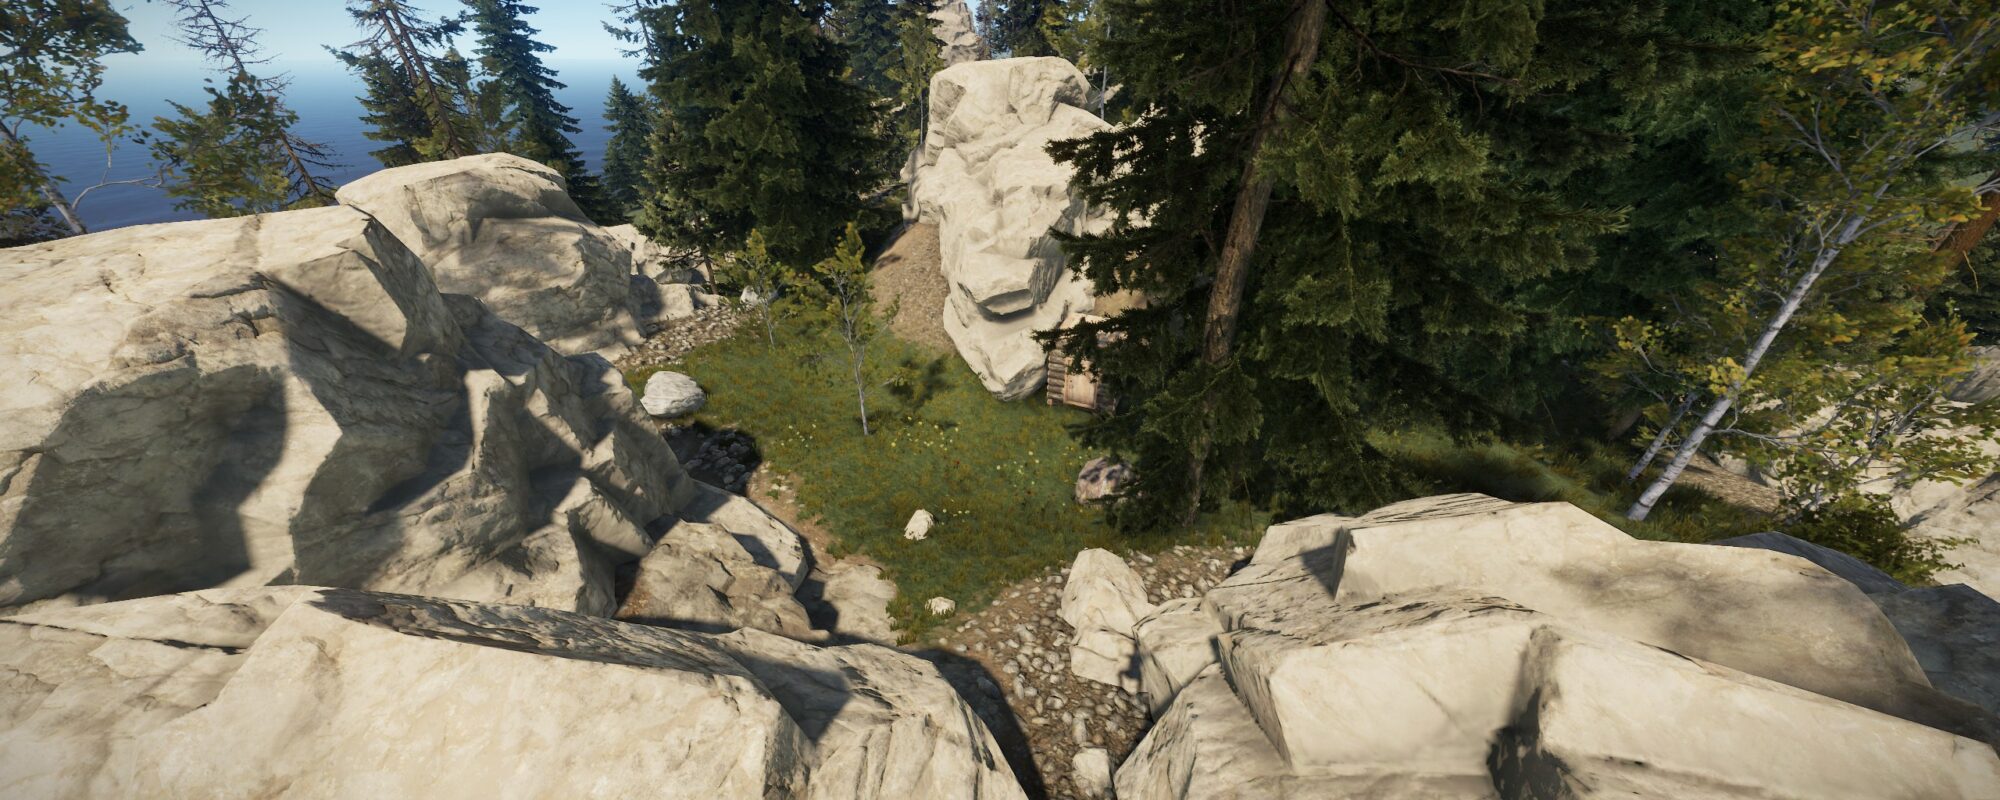
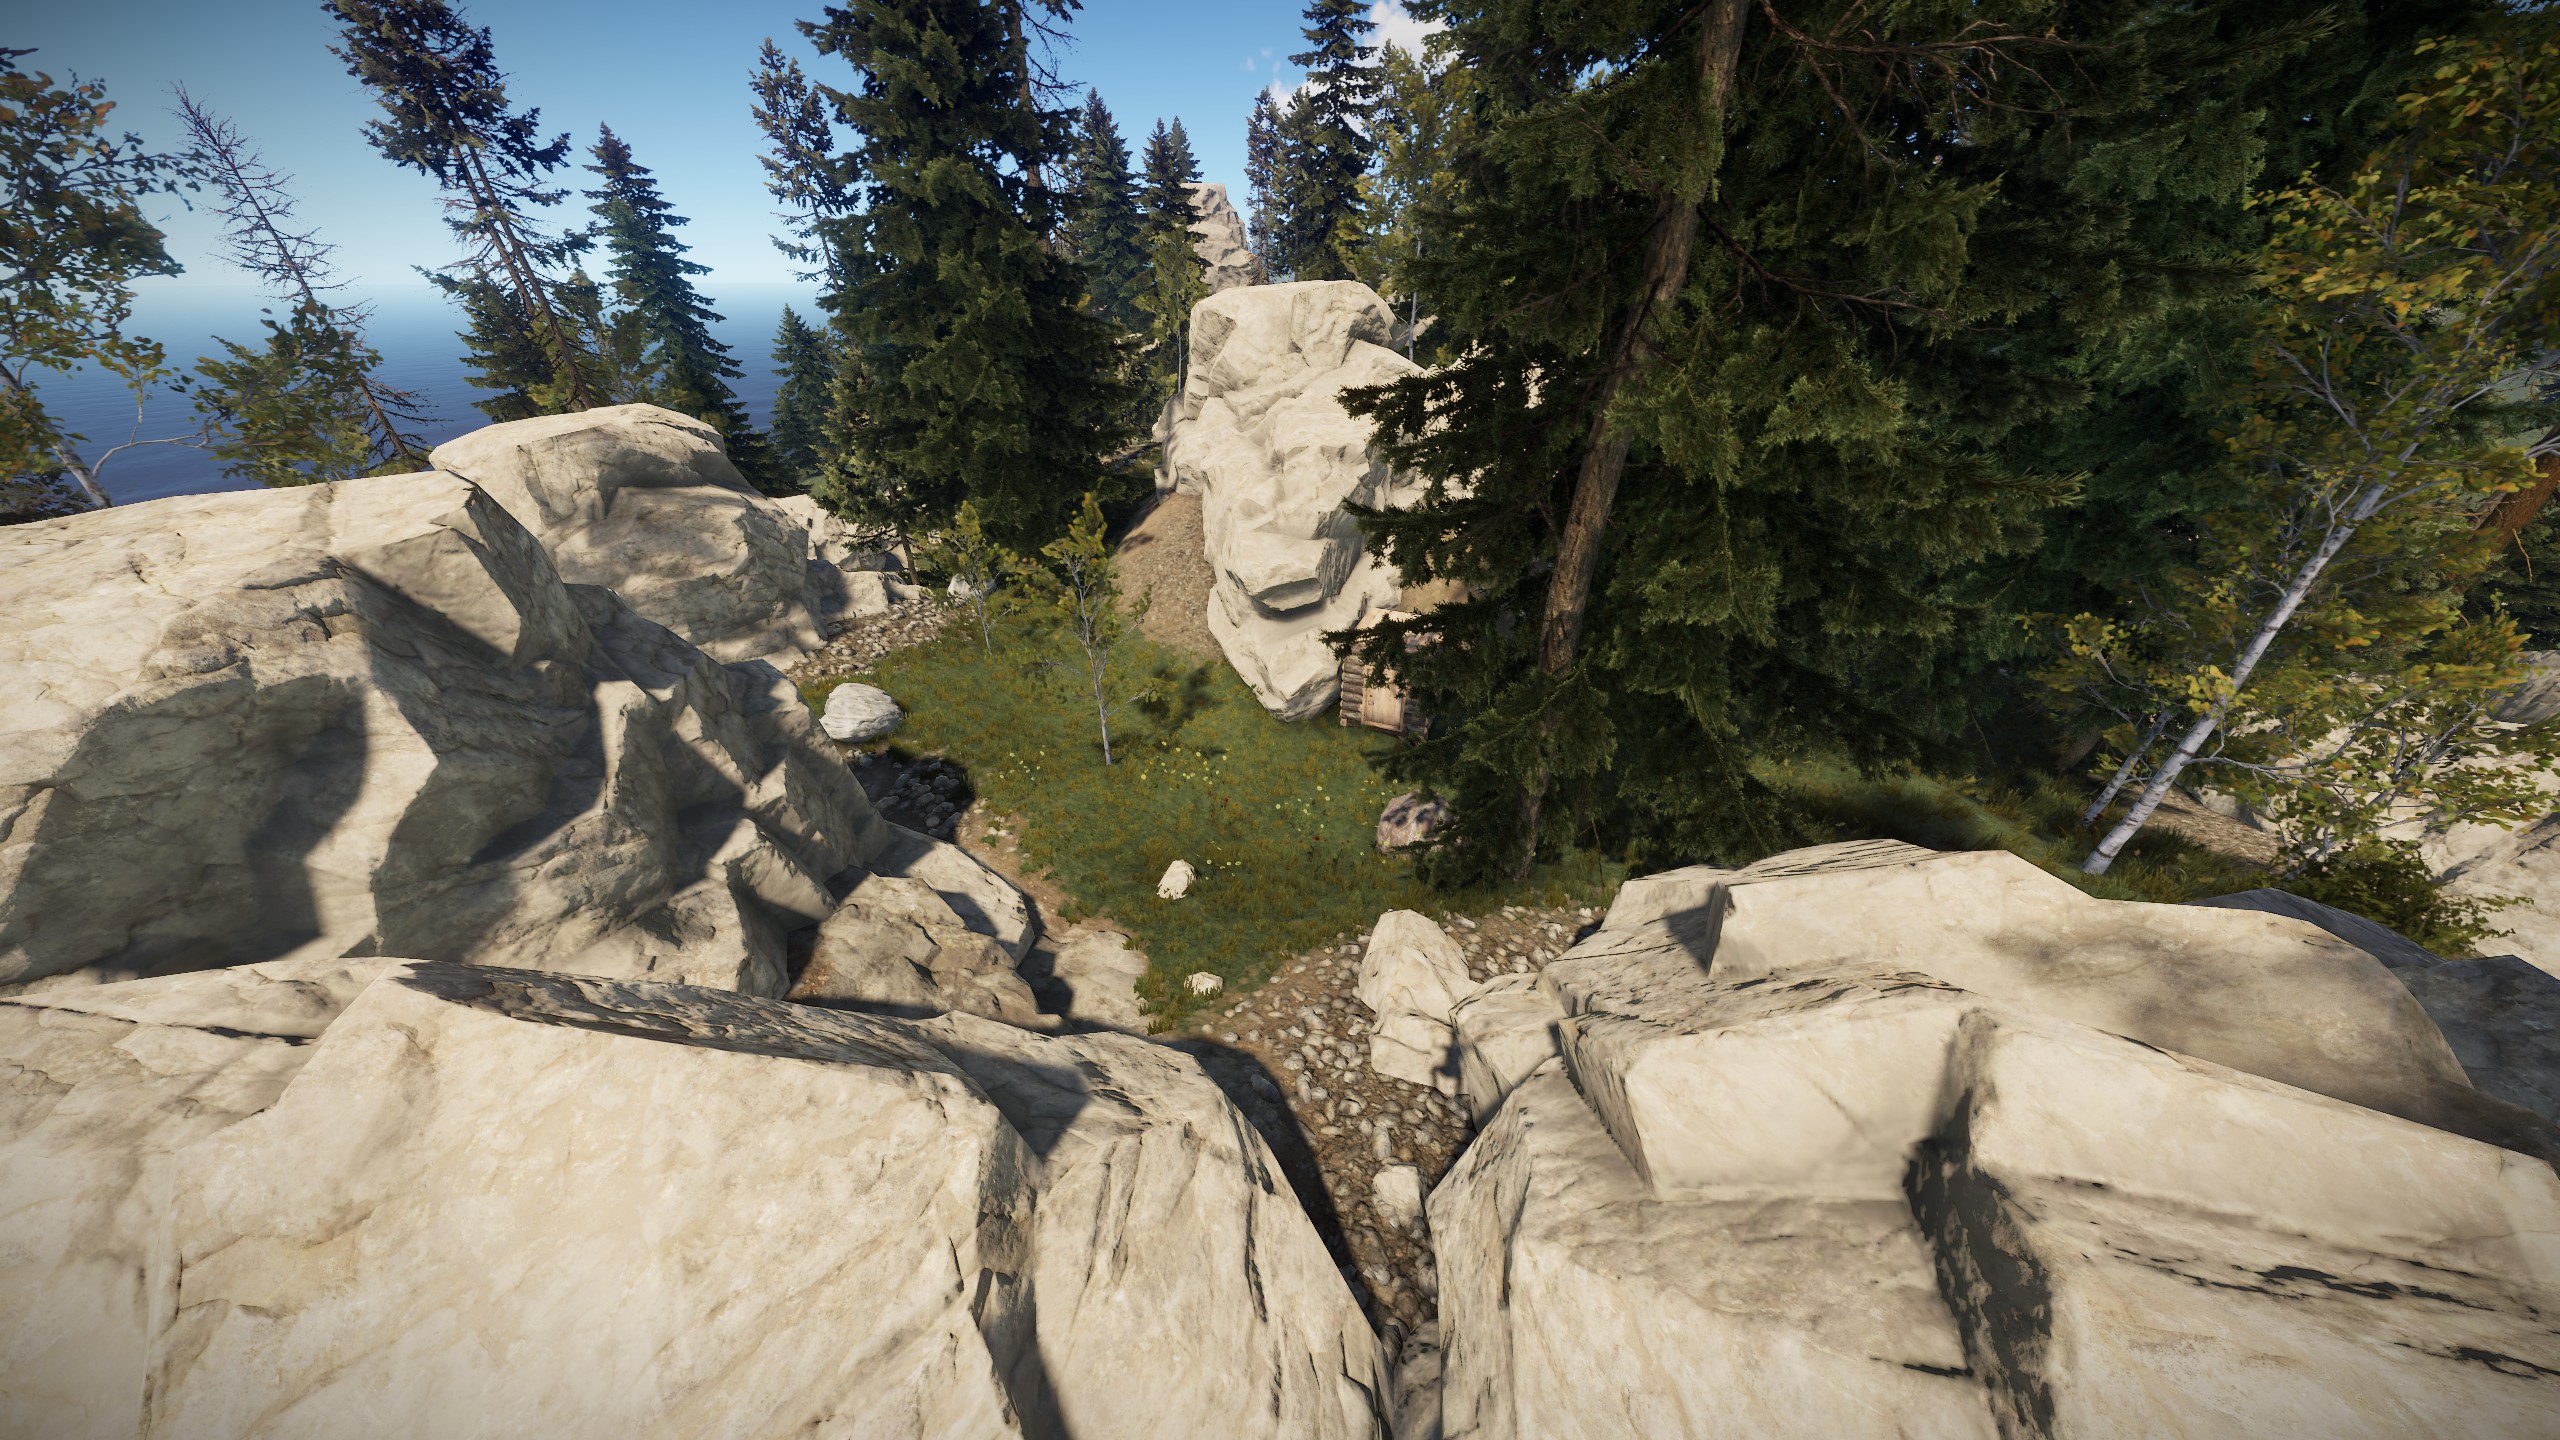
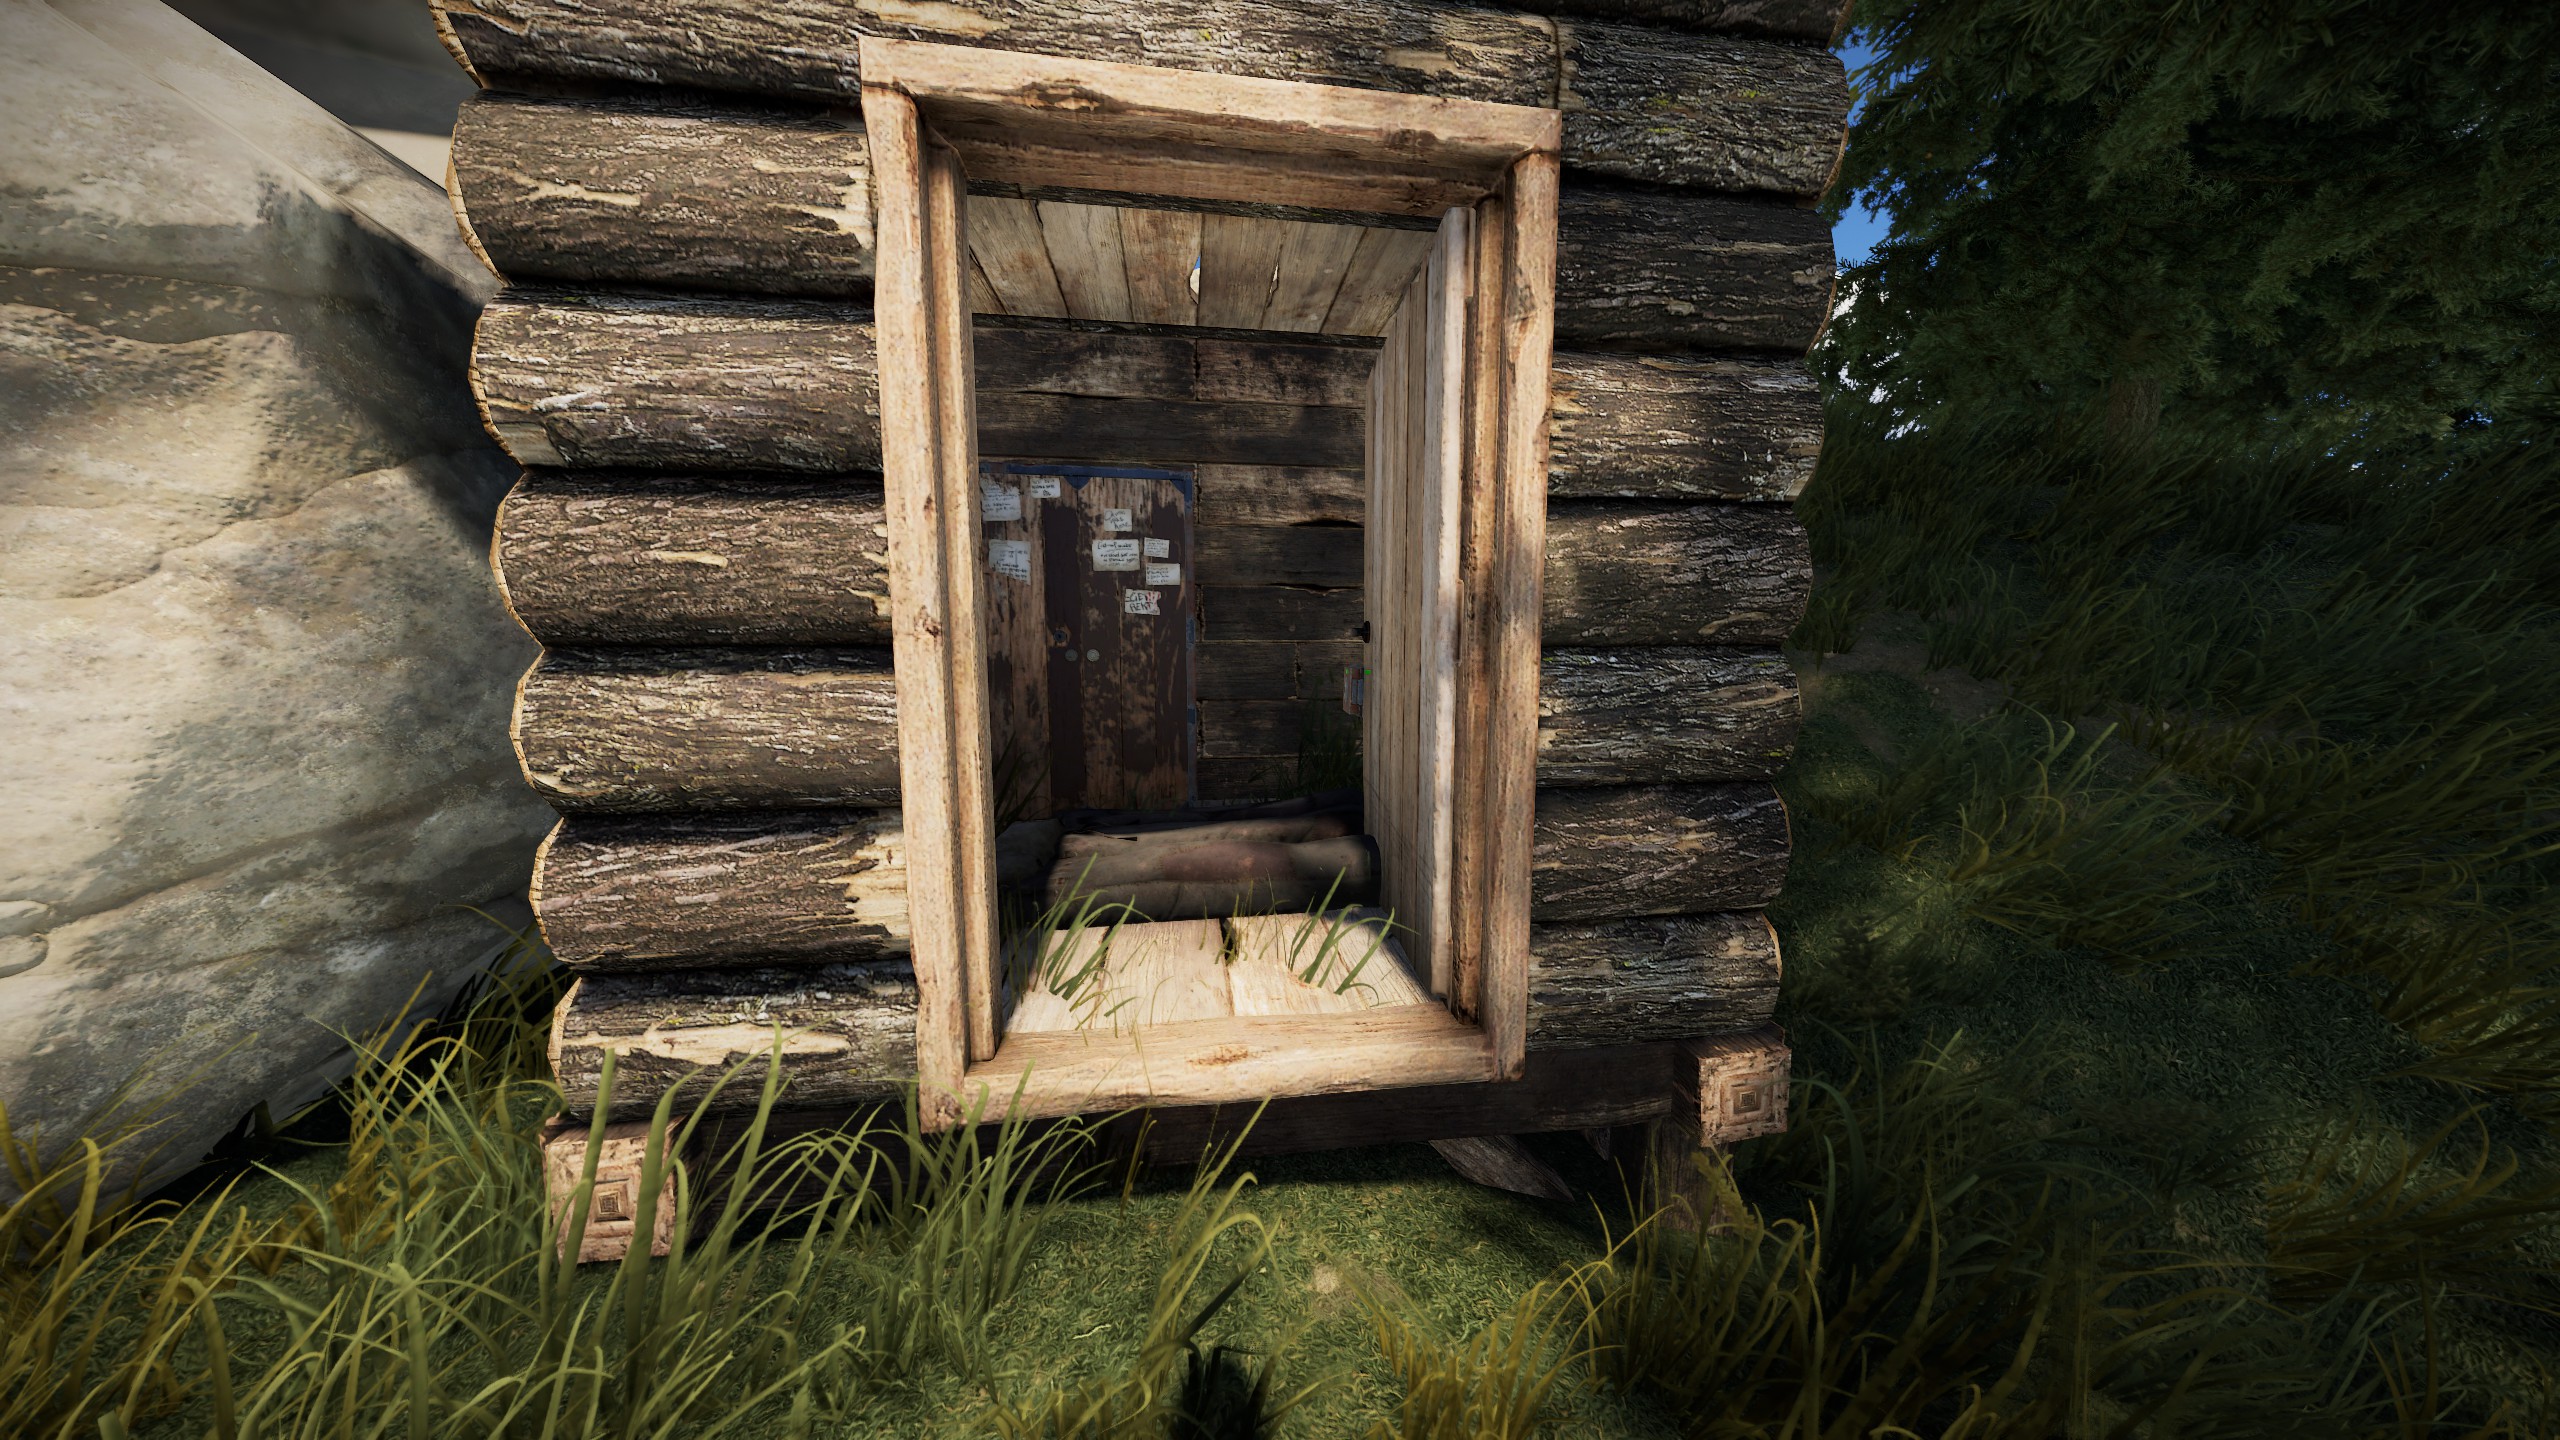
Location
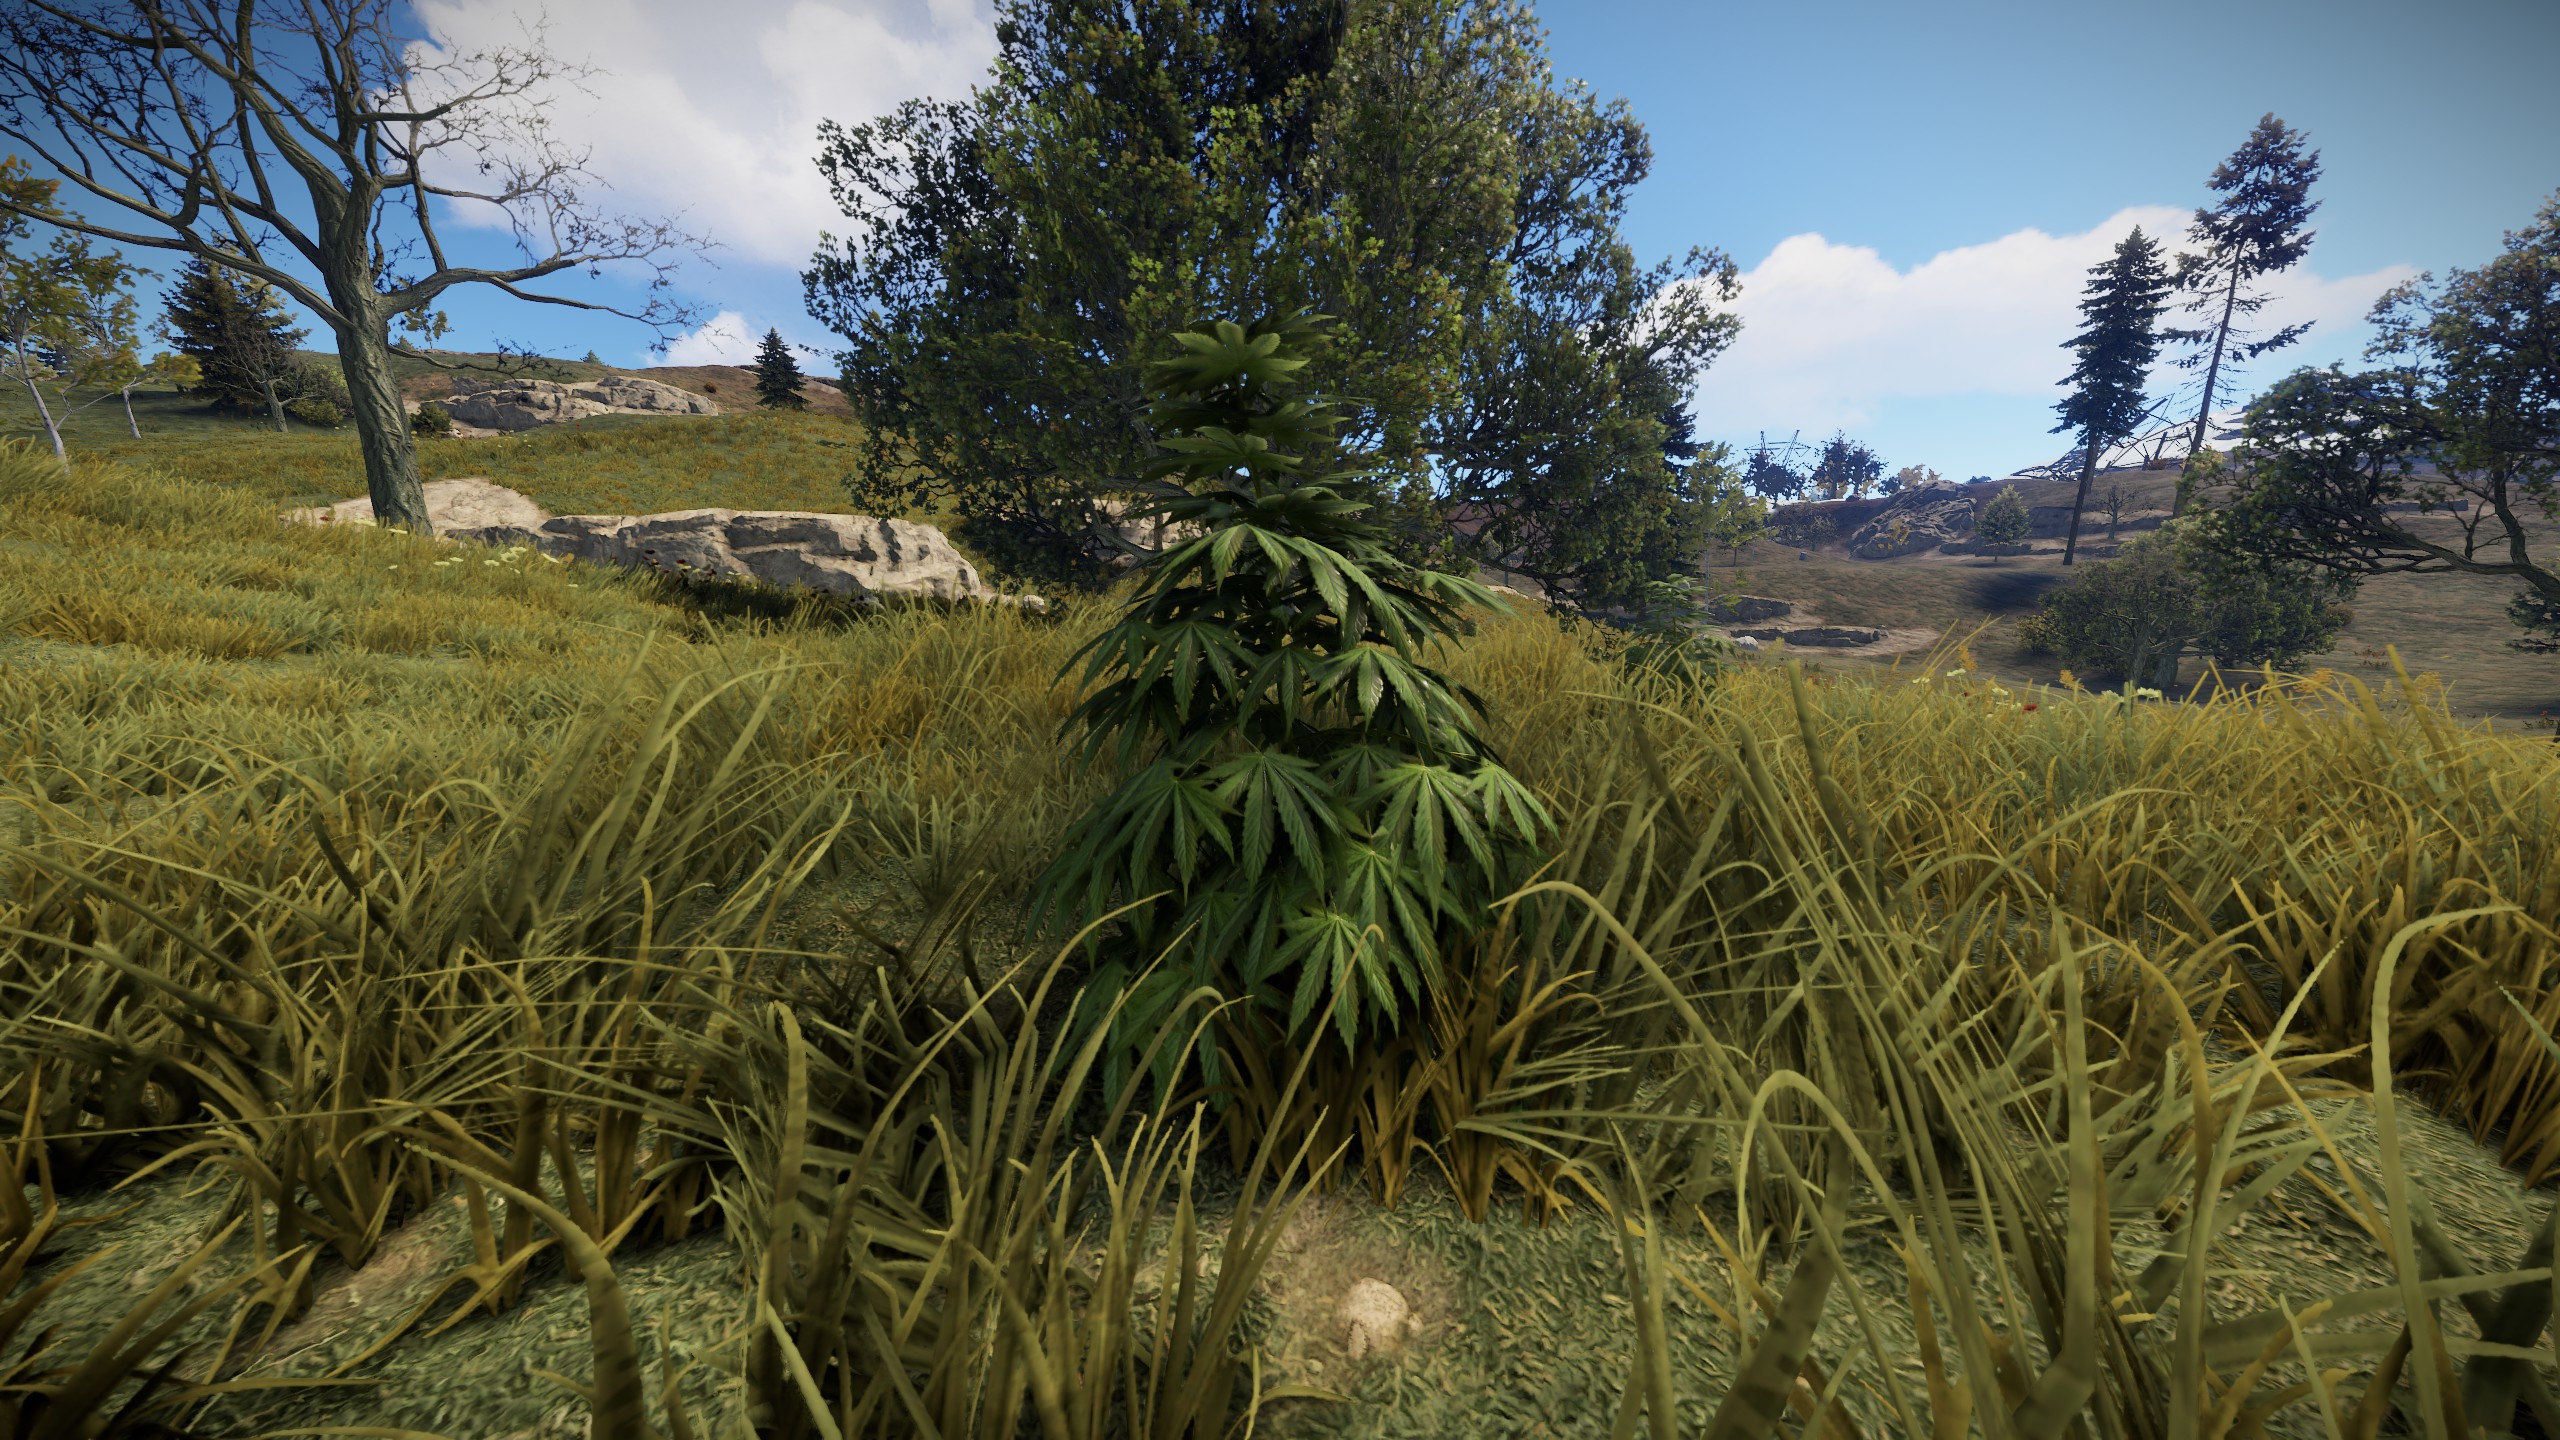
The location of any base is important, but having a nice hidden location for the first couple you make is extremely beneficial. The resources you first farm are extremely important, and losing them to other player early on is the difference between a beautiful base and a broken computer screen… A good example of a first location is shown in the image below. Plenty of trees, rocks and some tall grassy hills to hide your lovely home.
It is always wise to keep the below in mind when looking for a base location.
- Ocean or Mainland: The ocean and mainland (especially roads) provide the player with an opportunity to farm barrels and crates quickly and easily, without having the competition you would normally find at a monument
- Climate: If it’s cold, I’d stay away… It’s actually ridiculously easy to die from the cold weather if you do not have the clothing or a fire to help you get through those long nights. Or bears… I don’t judge.
- Monuments: These are hit or miss. Some monuments are extremely easy to loot and have no radiation, meaning you can gain weapons, armor and resources without much issue. I would aim to find somewhere secluded, but close to a monument.
Once you have decided on a location, you will need the below to get you started.
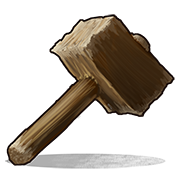
Hammer
This beauty will cost you 100 wood and allows you to upgrade, rotate and repair your walls, floor, ceiling and other components of your base. Right-clicking allows you to rotate, destroy and upgrade your base. The limit on rotating is roughly 10 minutes. Every type of wall has a soft and hard side, so ensure the hard side is facing outwards, otherwise it will be easy for others to break them. The hard side is generally easy to distinguish. On wood, it looks like logs whilst the soft side looks more like planks.
Building Plan
This is a builders bread and butter. It will cost you 20 wood and it will allow you to craft buildings out of twig. Upgrade these quickly to ensure they are not broken!
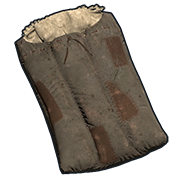
Sleeping Bag
The sleeping bag will allow you to set a spawn location. It costs 30 cloth and if you die, will allow you to choose a respawn point based on the number of available sleeping bags. Doing so will trigger a 5-minute cooldown, or “bag timer” and will prevent you respawning there, so ensure it is in a safe place!
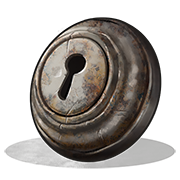 Key Lock
This is important! Crafting one of these will cost you 100 wood or 100 metal fragments (for a glorious code lock) and will prevent people from entering your base. The key is not required, but you can craft one if you wish by holding the interact key (default E) to create one and interact with the lock. The code lock is a better alternative, allowing you to protect your door with a code.
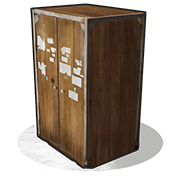
Tool Cupboard
The tool cupboard is the brain of your house. It costs 1000 wood. It will prevent your base from decaying if interacted with and filled with resources, but will also allow you to authorize friends to use doors and interact with your base properly. Place this in a safe location as you can lose access to your base if someone hostile manages to access this.
Now that we have the basics, it’s time to build! You can do so by creating a foundation by taking out the building plan and holding right-click to place it. Do the same for walls, a ceiling and a doorway and you’re done. I would highly recommending these to wood or ideally stone, as it will prevent people from breaking in as easily. Stone is more costly, but will last longer if someone attempts to break in. The most basic of houses will look roughly the same as the one shown below.
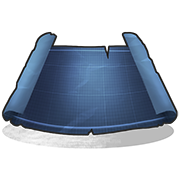
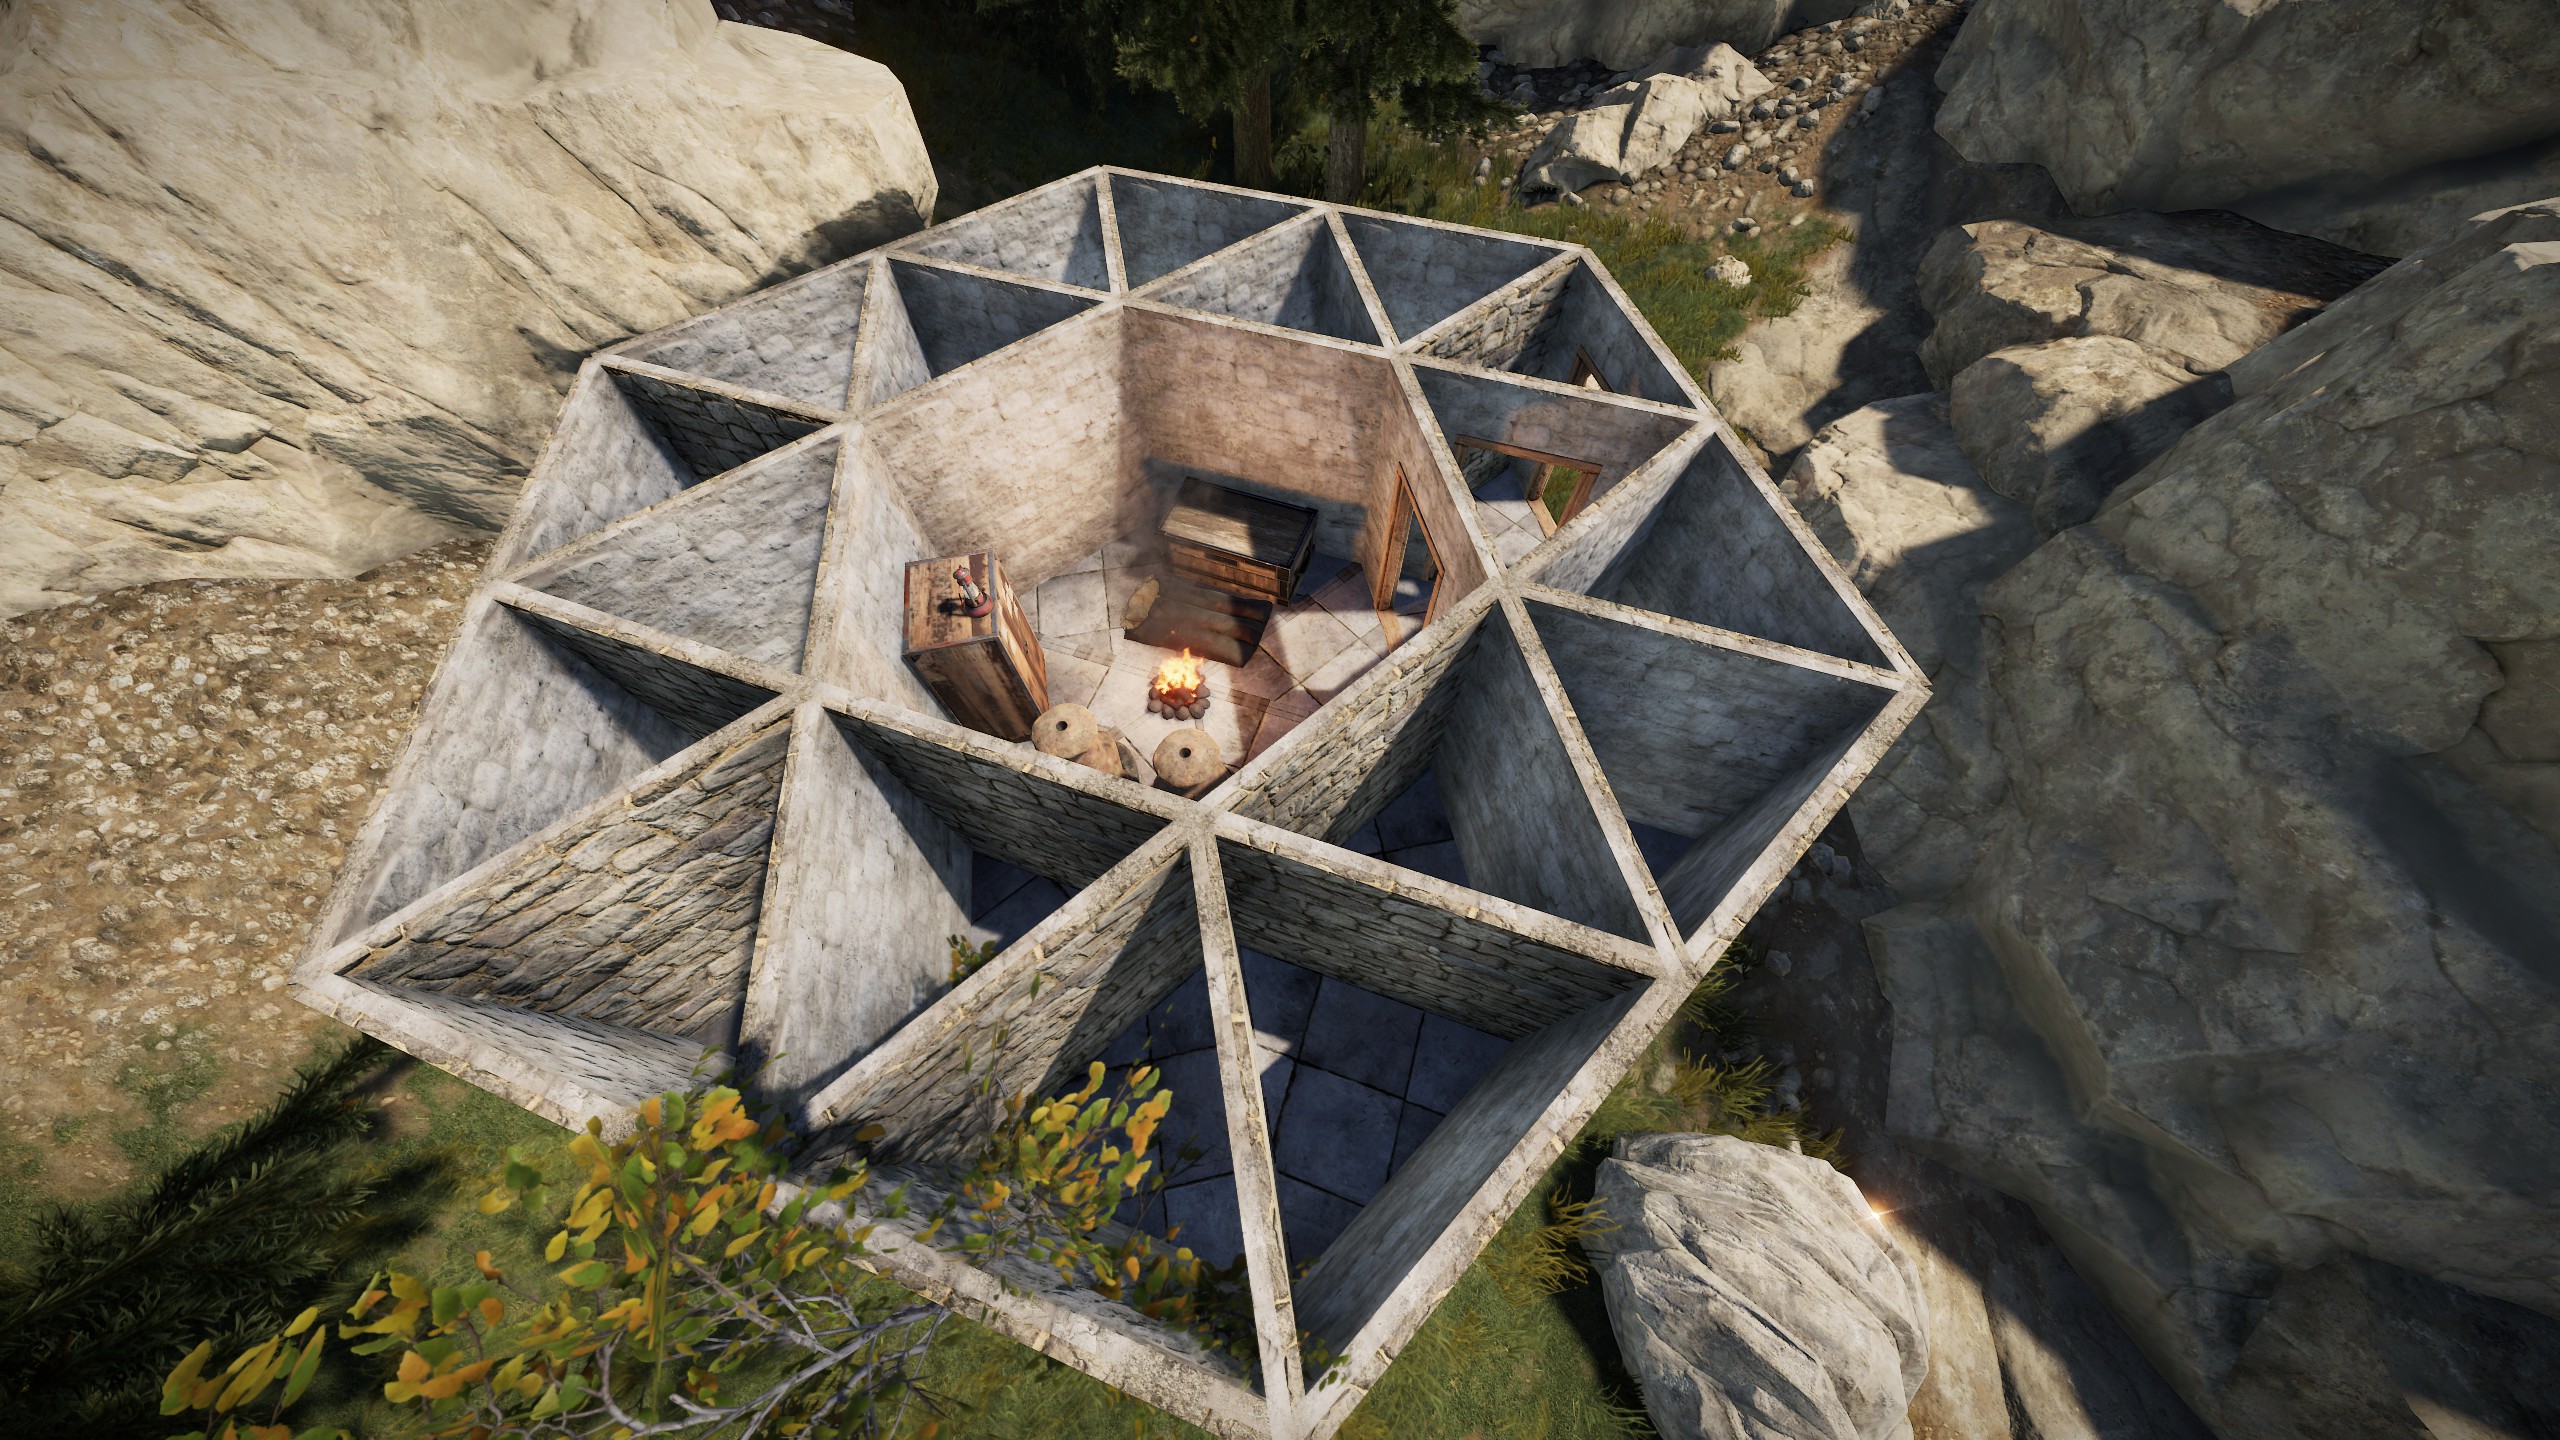
A Simplistic Example
The below is an extremely simple example of the sort of designs that people use in order to make it harder for others to access their base. If you place multiple doors, you are able to prevent people getting in if they hide outside your door and kill you before you can close it. In addition, there is a “honeycomb” of wall around the internal area of the base. This makes it harder for people to get into the base by destroying the walls, as they have to destroy multiple walls instead of just one.
You’re all warmed up!
Congratulations! You should now be ready to venture out and explore the world of Rust! If you are still unsure of anything or don’t feel ready, skim back through the guide or check out some of our other guides and hopefully these should help you to become a god of Rust. Your next steps should be to upgrade your base further, and start smelting metals in order to craft more advanced weapons. You should also start running around the monuments like a madman, but take care of radiation!
If you notice any mistakes, or anything missing, feel free to contact a Rustoria administrator and we will correct it!